 I always kick off my second flash class, "Off-Camera Flash: Beyond the Basics," with a review of the basics, those things covered in my first flash class. Some folks take both but some already feel they have the basics and opt to start with this one so I want make sure everyone is on the same page before we move on.
One of the things I want everyone to understand is that taking a shot with a flash involves two exposures: the first is determining the light to be used for the background, the ambient light. (Link: Two Exposures) This first exposure is based on the now all too familiar "exposure triangle" made up of the ISO, shutter speed, and aperture settings. ISO and aperture influence both of the exposures that make up an image captured using flash, but shutter speed has absolutely no influence on the light from a flash. The flash is way faster than any shutter speed setting below your camera's sync speed limits!
 Which brings us to the second exposure. That surrounding the flash. Here the triangle consists of the influences of your ISO, aperture, and flash output or power. You can review these factors in previous posts (URLs). Another thing I review is shooting using E-TTL (Canon) and I-TTL (Nikon). (Link: Using TTL) TTL ("through the lens") is a form of automatic flash where your flash sends out a pre-flash signal that when returned to the camera causes the camera and flash to talk to one another and set the flash output power in line with the settings you have chosen on your camera. You can then adjust the results by using flash exposure compensation (FEC) and lessen or increase the flash power based on your personal preferences. (Link: FEC) It is a great system to use when what you are shooting is moving around, such as at an event or wedding reception where the flash-to-subject distance is constantly changing.
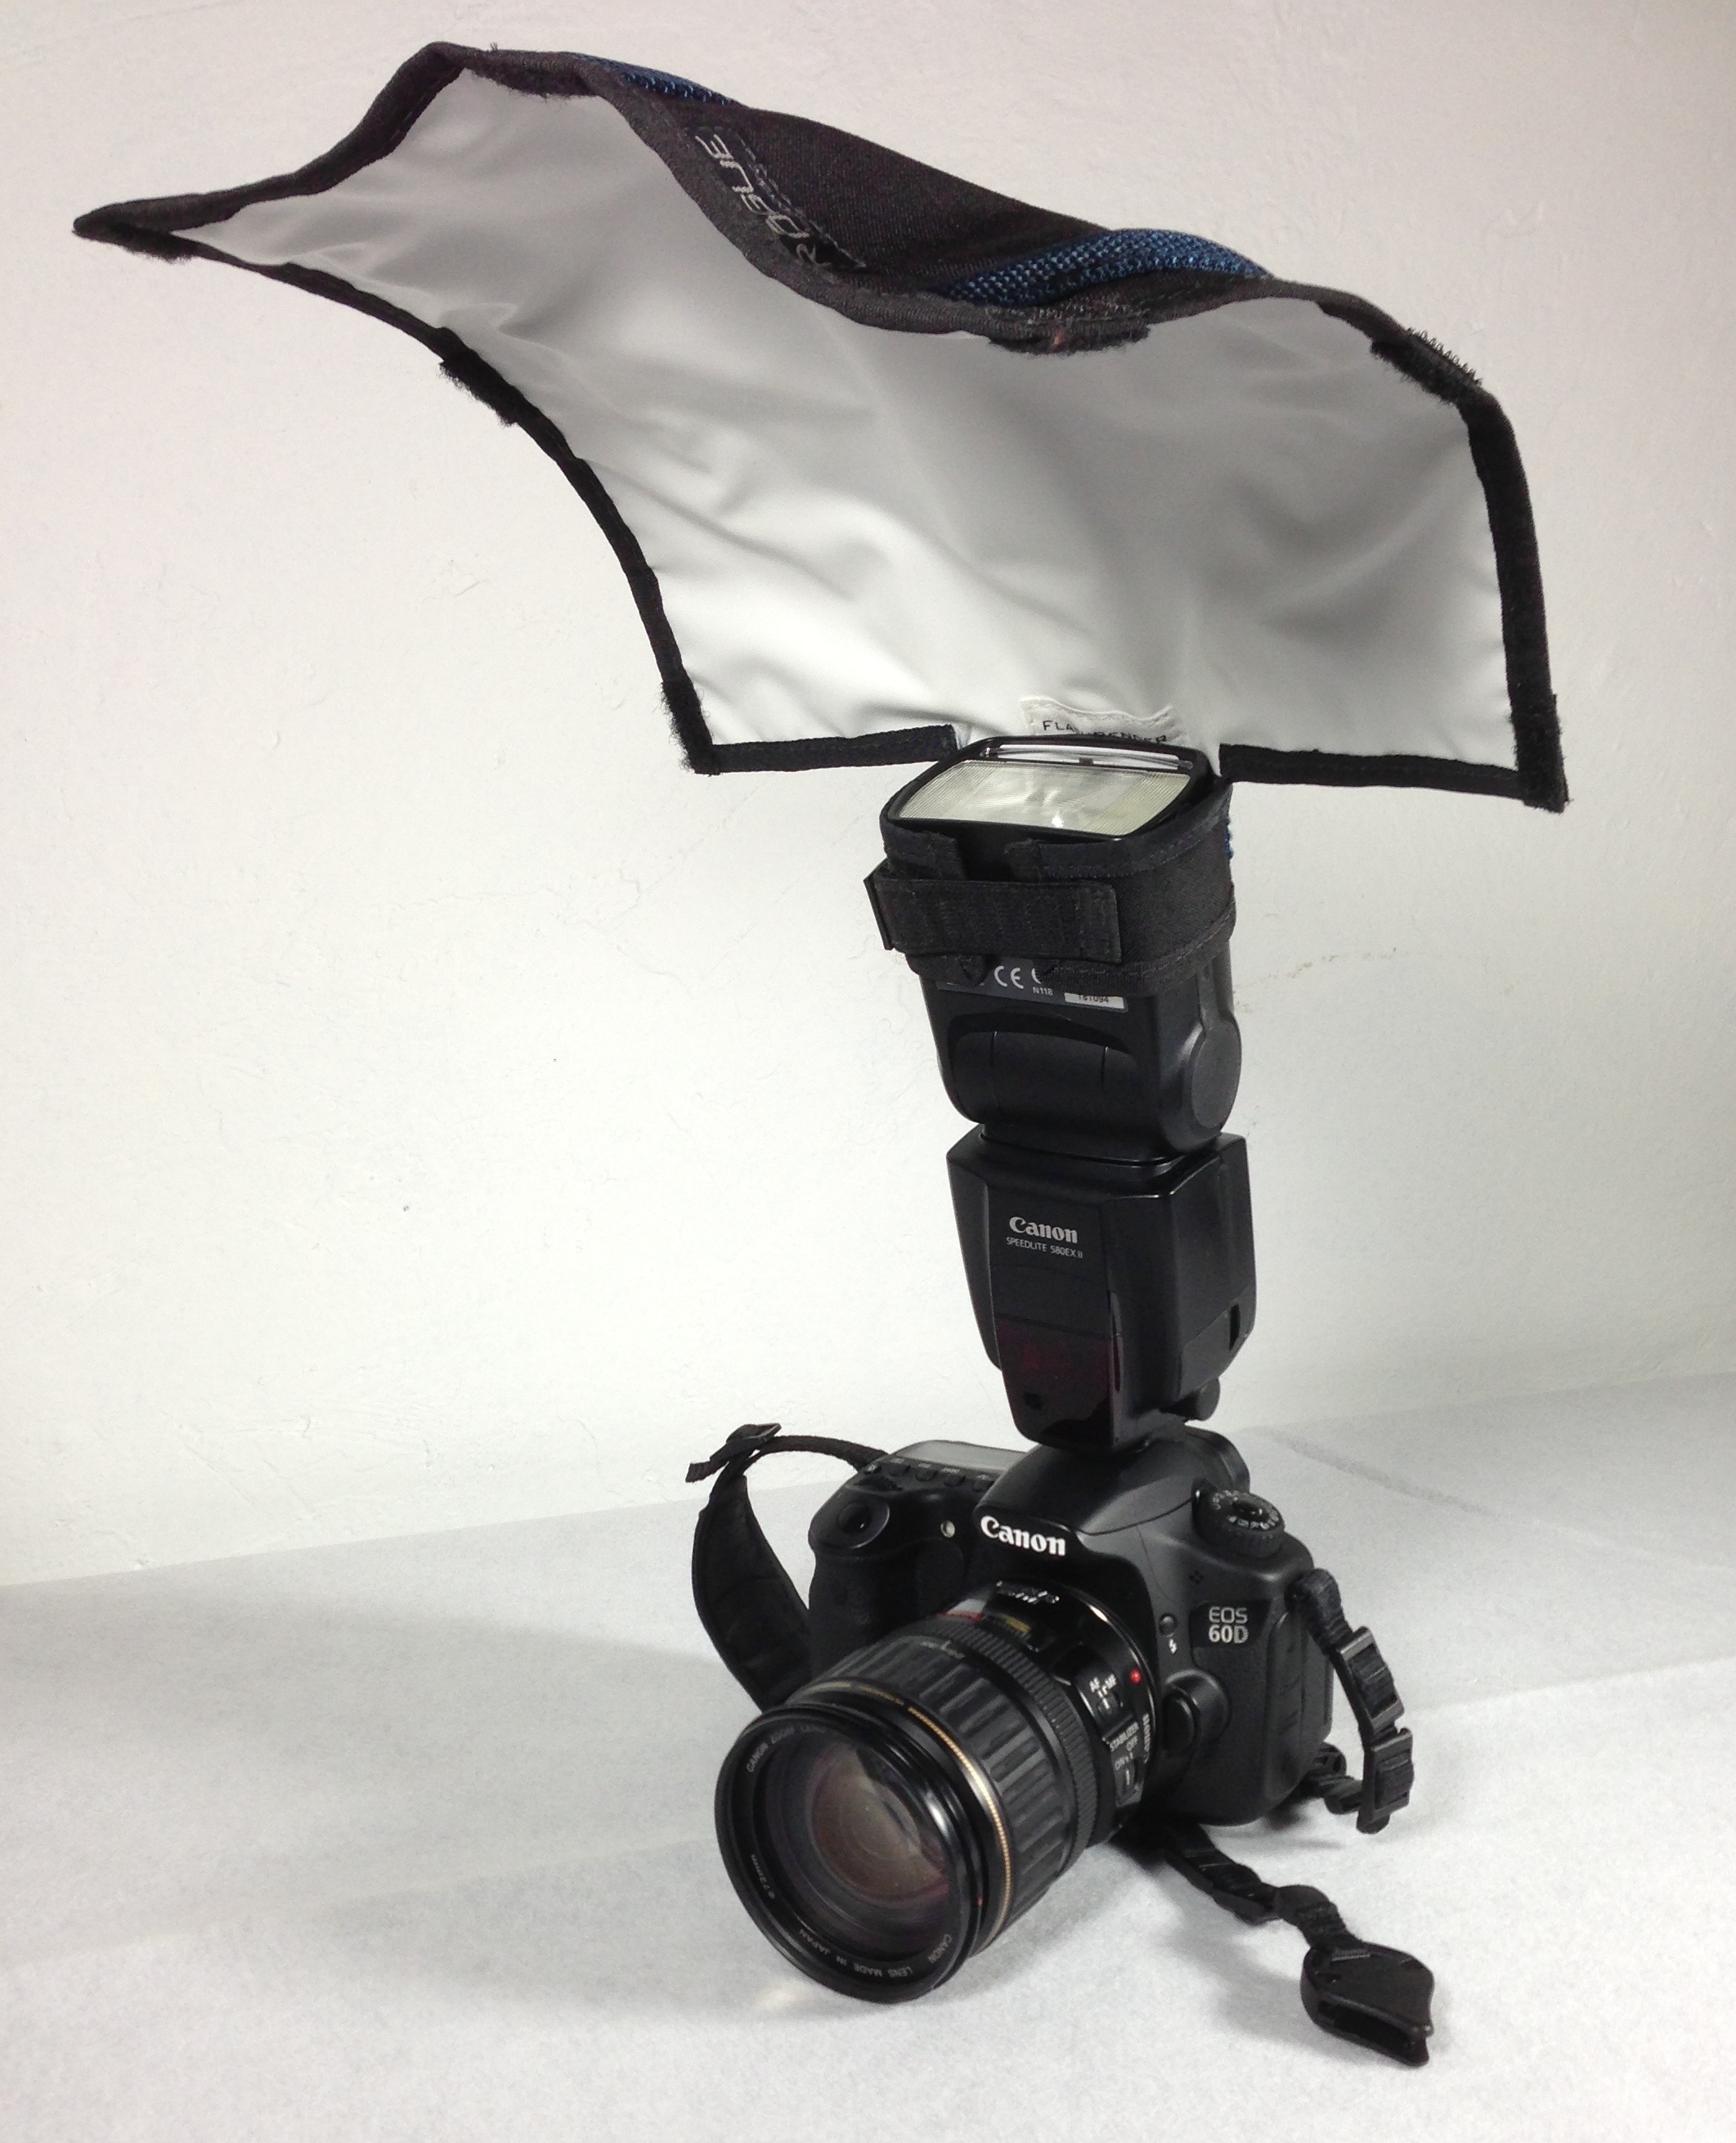
 The last two topics I cover in my review are bouncing your flash and using some type of diffuser with your external flash. (Link: Using Diffusers) Bouncing your on-camera flash is important to try and use a wall, ceiling or some light colored (preferably white) surface to make your light source seem larger and, therefore, softer. Another way of softening your on-camera flash is by using a translucent, plastic diffuser over your flash head or by diffusing its light with something like the Rogue FlashBender. The latter, actually, acts kind of like that white wall off which you bounce your flash.
In the first class we do touch on the importance of getting your external flash off the camera so you can have it shoot the light onto your subject at an angle to create defining shadows. (Link: Getting Flash Off Camera) However, that is the bulk of the next class, so we will take it up in the next post in this series.
I am offering two new classes this summer: "Mastering Manual" and "Mobile Flash: Using the Flash Stick." Check out the descriptions and register online at http://www.infotor.com/photoclasses/plannedclasses.php. I am also available to do one-on-one tutoring or small group lessons designed to meet YOUR needs and what you want to learn in the area of photography, using flashes, or the use of Apple products and software. Give yourself the gift of learning: http://www.infotor.com/photoclasses! Check out my new special tutoring bundle: http://www.infotor.com/photoclasses/tutoringbundle.php!